 86-0513-68903288
 13906298796@139.com
 русский
 Español
 عربى
عربىContent
Your engine idles rough, you hear a faint whistle under the hood, or the vacuum gauge on an industrial line keeps falling even though everything looks intact. Before replacing any parts, find the leak itself. The fastest field-proven sequence is simple: inspect visually, listen for the hiss, spray soapy water on the suspected joints, and, if the leak is still hiding, use smoke. Each step takes minutes, and together these four techniques pinpoint most vacuum leaks quickly and at almost no cost.
What Counts as a Vacuum Leak
A vacuum leak is an opening that admits air into a space or line designed to operate below atmospheric pressure. In a gasoline engine, it means unmetered air entering after the airflow sensor, which leans out the mixture and disturbs combustion. In an industrial system, it means air entering the suction side of a blower, vacuum pump, or conveying line, reducing the effective vacuum and forcing the machine to move more air than the process actually needs.
The consequences go beyond performance. A lean-running engine burns hotter, can damage oxygen sensors and the catalytic converter, and raises fuel consumption. An industrial vacuum leak lets dust and moisture into the process, overloads the motor, and inflates energy bills. The sooner the leak is located, the cheaper the repair, which is why detection should always come before random replacement of parts.
Symptoms That Point to a Vacuum Leak
Most vacuum leaks announce themselves before you measure anything. If two or more of the following appear at the same time, start leak testing:
- Rough or fluctuating idle that improves as engine speed rises
- A hissing or whistling sound near hoses, gaskets, flanges, or the intake manifold
- Hesitation or stumbling when the throttle opens
- A higher-than-normal idle speed
- Fuel trim values that drift far from zero, or fault codes such as P0171 and P0174
- Vacuum gauge readings that flicker or sit below specification
- In pneumatic lines: material settling in horizontal runs, slower cycles, or rising motor current
In an engine, the classic trio is rough idle, hissing, and a lean code. In industrial equipment, the classic indicator is a vacuum or pressure reading that no longer matches the logged baseline. Recognizing these signs early shortens the time spent on detection.
How to Detect a Vacuum Leak: Methods That Work
1. Start with a Visual Inspection
Give the system a thorough look before using any tool. Follow every vacuum hose, tube, and connection, and check for cracks, hardness, oil staining, loose clamps, and fittings that have worked themselves loose. On engines, examine the intake manifold gasket, throttle body, PCV system, and brake booster line. On industrial equipment, check flange gaskets, filter housings, access covers, and shaft seals. A surprising number of leaks are found this way in under five minutes, and a leak found visually is usually the cheapest one to fix.
2. Listen near the Source
Air rushing through a small gap creates turbulence that sounds like a hiss or whistle. With the engine running or the blower operating, move your ear along the line and stop wherever the sound changes. A short length of rubber hose held to the ear works as a simple stethoscope and helps direct the sound. In noisy plant environments, an ultrasonic leak detector converts the sound of leaking air into an audible signal and pinpoints the spot even when several machines are running. This makes listening especially valuable on industrial blower and vacuum pump installations.
3. Try Soapy Water
Mix automotive-safe dish soap with water in a spray bottle. With the system running, spray the suspected joints one at a time. At a leak, the incoming air pulls the liquid into the opening and produces a visible bubble or foam, and you may also notice a brief change in the running sound. This method costs almost nothing and works well on hose ends, flange faces, gaskets, and accessible connections. It is less effective on very small leaks, which may take longer to create a noticeable bubble, so be patient and watch each spot for a few seconds.
4. Use Smoke for the Definitive Answer
A smoke machine injects a small volume of artificial smoke into the system at low pressure. The smoke escapes through any opening and becomes visible exactly at the leak location. This is the method most professional technicians prefer for engine intake systems because it makes even small gasket leaks and cracked vacuum lines obvious. The same principle works on industrial suction lines and vacuum pump inlet piping. Smoke testing is fast, clean, and widely considered the final confirmation when other methods have already pointed to the same area.
5. Use a Spray Test with Care
With the engine idling, spray a short, controlled burst of a commercially available intake cleaner near the suspected joint. If the engine speed rises, the vapor is being pulled through a leak, and you have found the spot. Keep the spray brief, keep flammable materials away from hot surfaces and ignition sources, and never use aggressive chemicals that can damage plastic, rubber, or paint. This technique is quick and works in tight spaces, but because the vapor spreads, it is less precise than smoke or soapy water.
6. Isolate the Zone with a Vacuum Gauge
In plants, the fastest way to locate a vacuum leak is often to measure instead of guess. Install a vacuum gauge on the suction side of the blower or vacuum pump, close isolation valves section by section, and watch the reading. A stable, deep vacuum with a closed valve means the leak is on the other side of that valve; a gauge that refuses to build vacuum points to a leak between the gauge and the valve. Combining this sectional isolation with soapy water or smoke at the suspect flanges locates almost any industrial leak without taking the whole line apart.
Where Vacuum Leaks Most Often Form
Certain places fail far more often than others. Checking these areas first saves time:
| Location | Typical Sign | Fastest Confirmation |
|---|---|---|
| Intake manifold gasket | Rough idle, lean code | Smoke test |
| Vacuum hose or elbow | Hissing, fluctuating idle | Visual check and soapy water |
| PCV valve or hose | Erratic idle, oil smell | Smoke or spray test |
| Throttle body gasket | High idle, hesitation | Soapy water |
| Brake booster or line | Hard pedal, hissing | Soapy water |
| Flange joint or pipe connection | Pressure loss, noise | Ultrasonic or soapy water |
| Blower or vacuum pump shaft seal | Loss of capacity | Smoke or ultrasonic |
| Filter housing seal | Dust ingress, low flow | Visual check and soapy water |
In practice, hoses and gaskets account for most vacuum leaks, so the first rows of this table deserve the most attention before you invest time in extensive equipment.
Detecting Leaks in Blower and Vacuum-Pump Installations
In industrial service, leaks on the suction side of a blower or a Roots vacuum pump have the same root causes as engine leaks: cracked hoses, worn gaskets, loose flanges, and damaged seals. The difference is that the consequences are easier to measure. A vacuum pressure that drifts away from the logged baseline is the first warning. When that happens, follow the same sequence used on engines: visually check the inlet filter seal, shaft seal, and flange joints, then apply soapy water or smoke to the suspects.
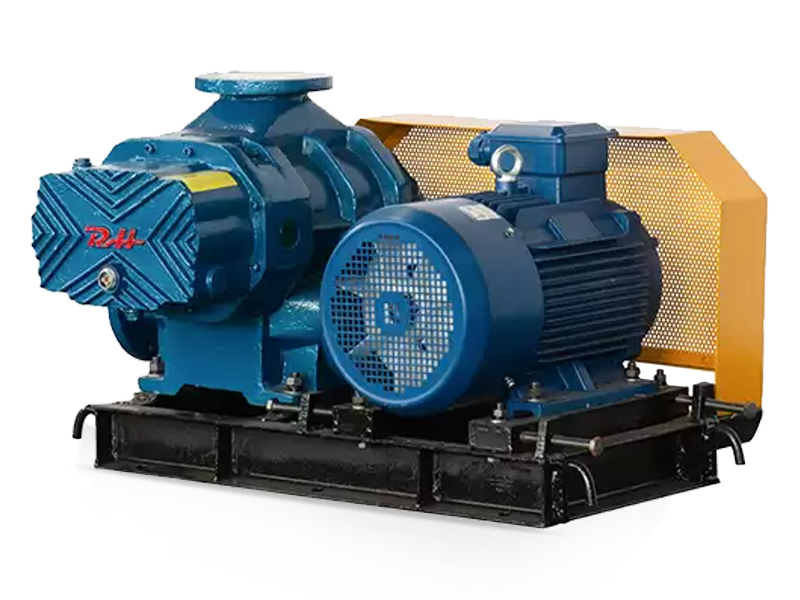
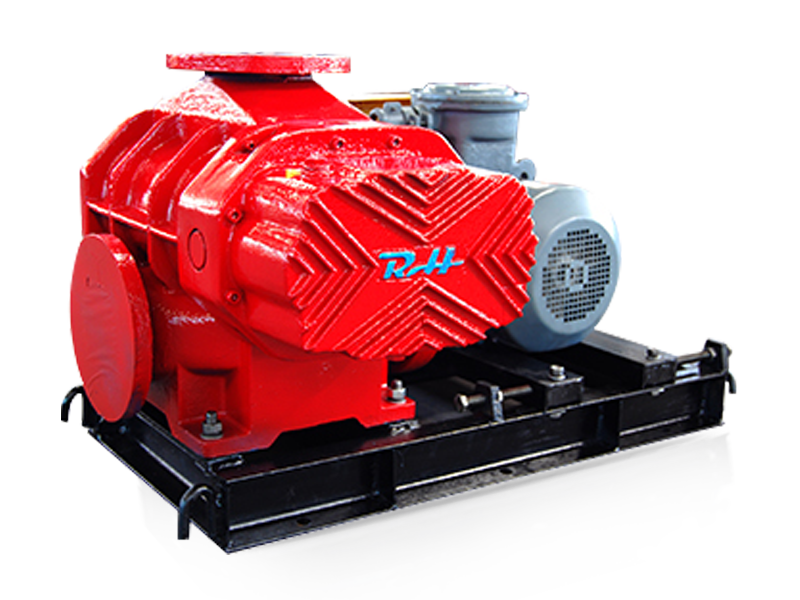
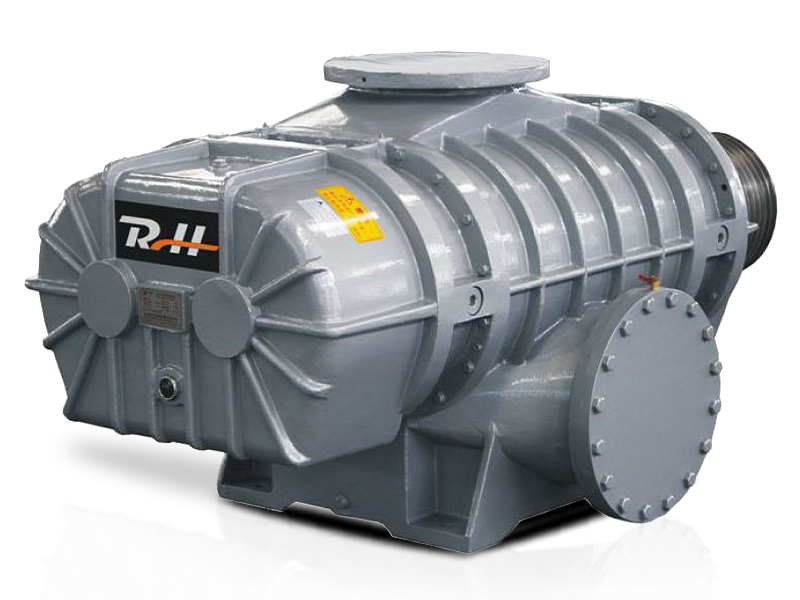 Roots Vacuum Pump for Industrial Suction and Leak DetectionThis dry vacuum pump supports flow rates up to 713.8 m³/min and vacuum levels down to -49 kPa dry. Its suction-side seals and flanges are common leak points, making it relevant when tracing vacuum drift in industrial systems.View Product →
For anyone operating a Roots vacuum pump day to day, understanding how the machine builds suction makes leak hunting far more logical, because the leak points follow the flow path from the inlet filter to the discharge port.
Pneumatic conveying lines show a different signature. A vacuum leak causes material to settle in horizontal runs, lowers conveying speed, and raises the current draw on the blower motor. The leak allows conveying air to escape before it reaches the pickup point, so the product never receives the velocity it needs. A smoke test at the pickup point, with the conveying air on, shows quickly where the air is being lost.
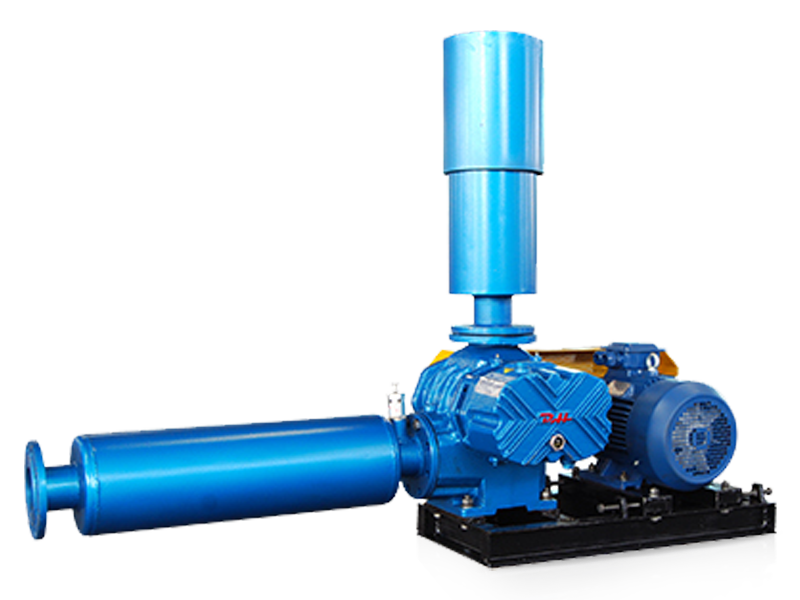
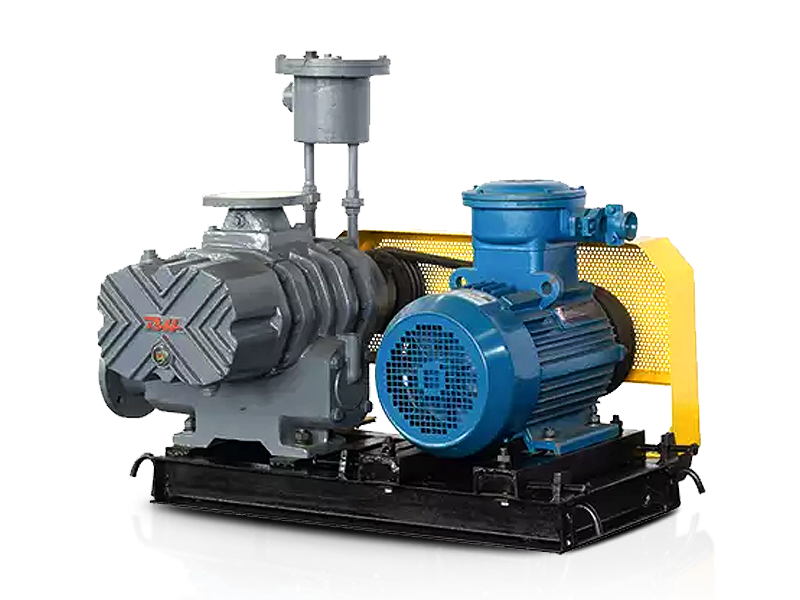
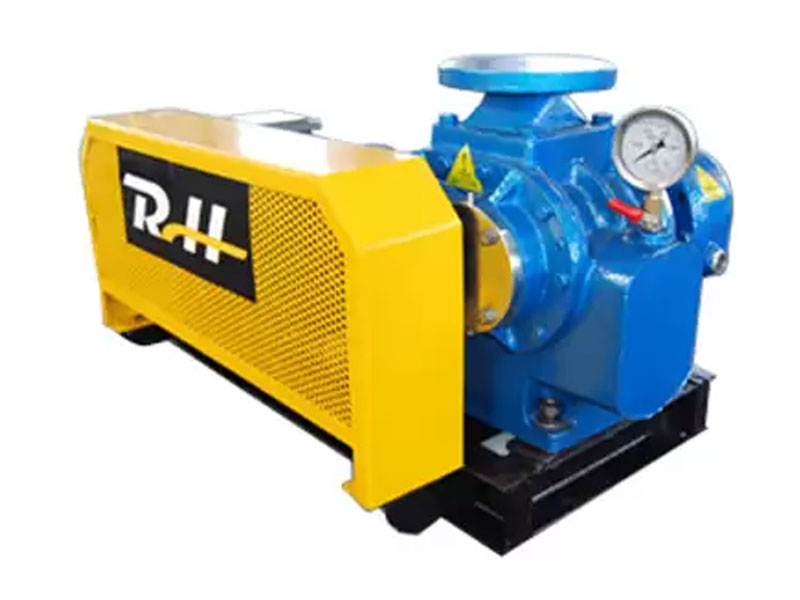 Pneumatic Conveying Roots Blower with Three-Blade ImpellerDesigned for pneumatic conveying of materials like cement and coal, this blower delivers pressure rises up to 98 kPa. Its impeller and sealing design influences air loss, so check hoses and flanges when conveying speed drops.View Product →
Whether the system uses a positive-displacement blower or a vacuum pump, the goal is the same: find the opening while it is still small enough to repair with a new gasket, clamp, or seal rather than a full teardown.
Confirm the Repair, Then Prevent the Next Leak
After you make a repair, repeat the test that found the leak. In an engine, clear the fault codes, drive the vehicle, and confirm that idle speed and fuel trims return to normal. On an industrial line, record the vacuum or pressure reading at the same operating point and compare it with the figure logged before the repair. A leak is fully fixed only when the original test stays clean.
For larger installations, continuous monitoring removes the guesswork altogether. A control cabinet with programmable logic control can track vacuum, pressure, and motor load, and alert the operator the moment a value drifts outside the set range. That turns leak detection from an occasional exercise into an automatic safeguard.
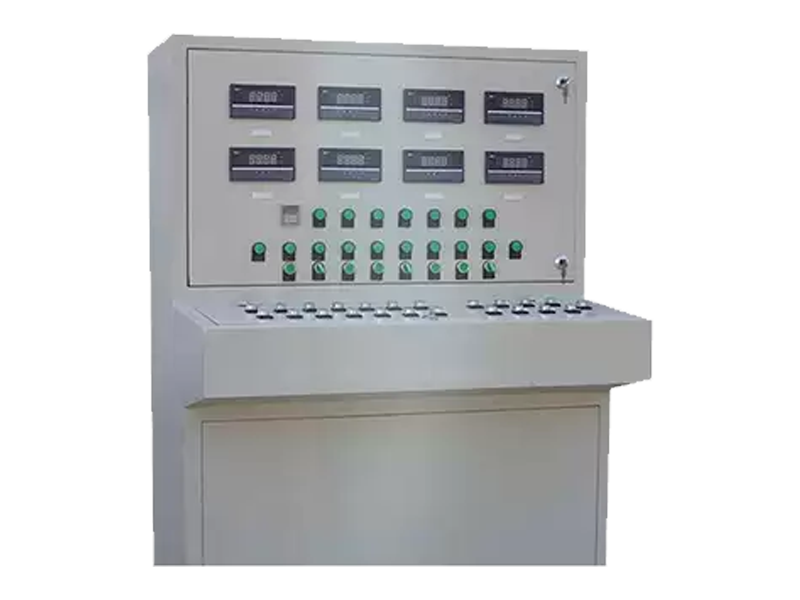 PLC Programmable Control Cabinet for Vacuum System MonitoringThis control cabinet tracks vacuum, pressure, and motor load with programmable logic, alerting operators to deviations. It supports multiple voltage and current inputs, enabling automatic leak detection and planned maintenance for larger installations.View Product →
Prevention matters as much as detection. Replace cracked hoses with the correct grade of material, torque gaskets and flanges to specification, change the inlet filter on schedule, and inspect seals during planned maintenance. Choosing equipment from a manufacturer with decades of experience in blowers and vacuum pumps also reduces the likelihood of premature leaks, because housings, seals, and flange faces are designed for repeated service.